
Cannabis-Infused Quick Pickles: Customize, Experiment, and Go Wild!
*This is a sponsored post by Avid Armor and contains affiliate links, which means I may receive a small commission, at no cost to you, if you make a purchase through a link!

Cannabis-infused snap peas, photo by Monica Lo
Pickle enthusiasts! Welcome to a world where brine meets pressure, crunch meets speed, and where time-honored tradition meets modern convenience.
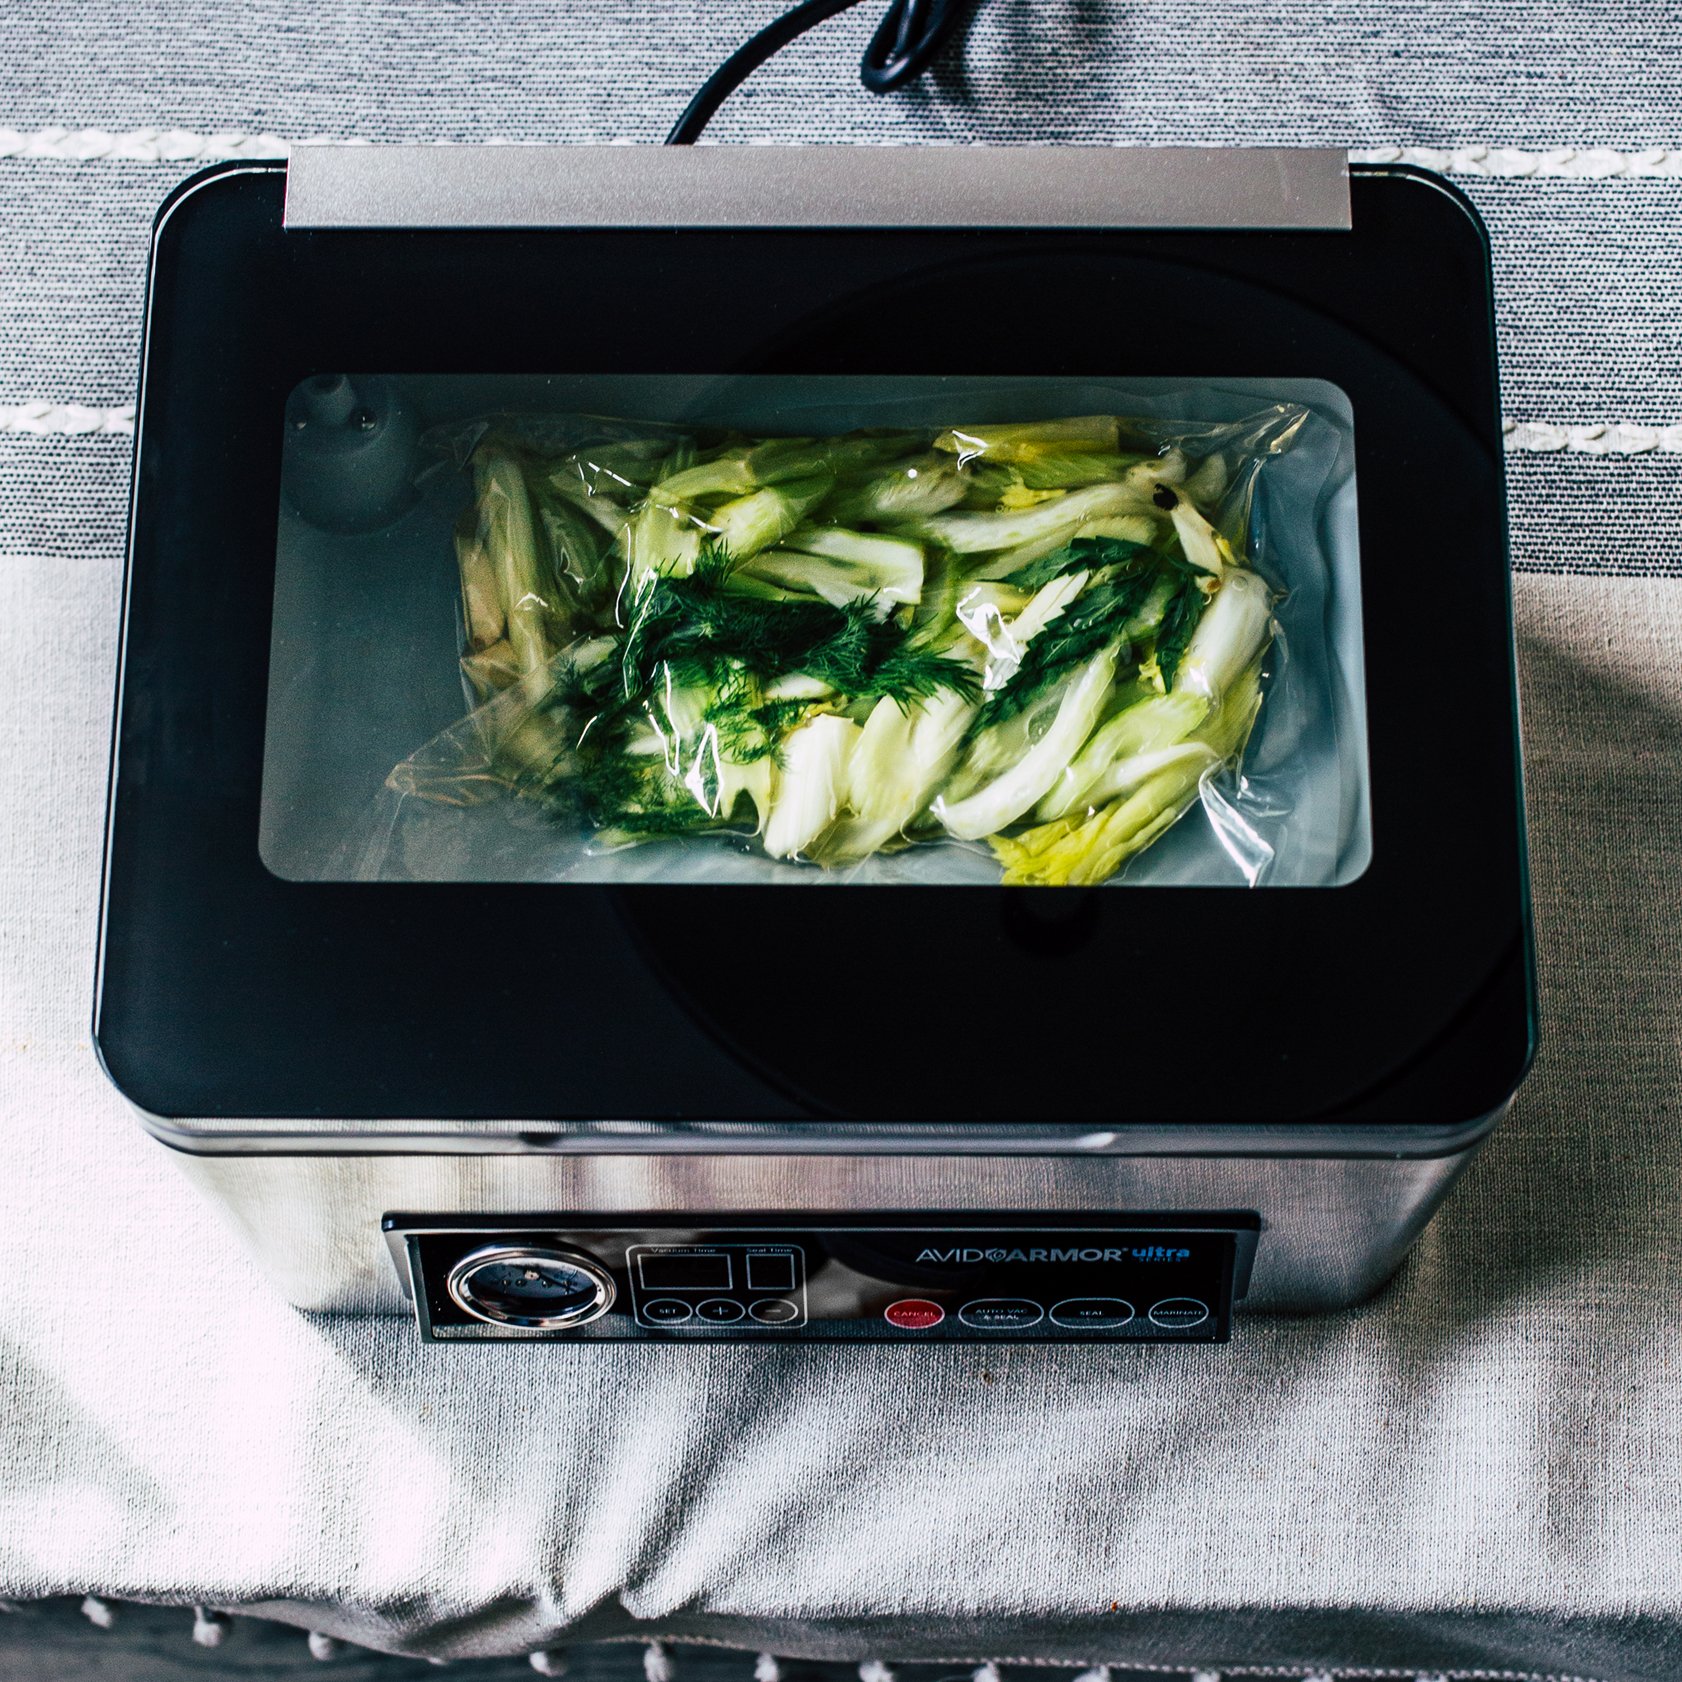
You no longer have to wait weeks for flavors to develop. I made five cannabis-infused pickles in less than an hour with the help of my chamber vacuum sealer! The pressure compresses the vegetables allowing the pickling brine to infuse instantly. It also preserves that satisfying snap. No limp cucumbers here.

Cannabis-infused okra pickles

Cannabis-infused celery pickles
I use the Avid Armor Ultra Series USV20 Chamber Vacuum Sealer to seal the pickling brine made with cannabis-infused sugar and the prepared vegetables. Avid Armor’s pre-cut vacuum sealer bags are long-term freezer-safe, cook-safe (microwave, boil, simmer and sous vide), BPA-free, and use FDA-approved food-safe material.
Use the code 'SOUSWEED' to get 10% off
any Avid Armor products
Vacuum sealed pickles

Vacuum sealed quick pickles

Cannabis-infused pickled red onions

Ingredient prep and cannabis leaves
To make quick pickles using a chamber vacuum sealer, you'll need a few key ingredients and the following steps:
Step 1: Gather Your Ingredients and Tools
Fresh vegetables of your choice (I chose cucumbers, snap peas, okra, celery, and red onions.)
Pickling brine ingredients: vinegar (I used ACV and white,) water, salt, cannabis-infused sugar* (or regular sugar)
Additional flavorings like garlic, dill, peppercorns
Chamber vacuum sealer
Vacuum bags suitable for sealing
Step 2: Prepare the Vegetables
Wash the vegetables thoroughly to remove any dirt or impurities.
Cut the vegetables into desired shapes, such as slices, spears, or rounds. Get creative and mix and match for a fun variety of pickles!
Step 3: Create the Pickling Brine
In a pot, combine vinegar, water, salt, cannabis-infused sugar*, and any desired spices to make your pickling brine.
Bring the brine to a boil and simmer for a few minutes to allow the flavors to meld. Give it a little taste to make sure you’re happy!
Remove the pot from heat and let the brine cool completely. This part is important! Do not add hot brine to the vacuum sealer bags.
Step 4: Get Ready to Seal
Place the prepared vegetables and any optional flavorings into a vacuum bag.
Arrange them in a single layer for even pickling.
Pour the cooled pickling brine into the bag, no more than halfway full.
Leave plenty of headspace at the top of the bag to prevent overflow during the vacuum sealing process.
Step 5: Seal the Deal
Start the vacuum sealing process, and let the machine do its thing.
The chamber vacuum sealer will remove the air from the bag, creating a vacuum and compressing the vegetables in the process.
Step 6: Let the Magic Happen
Once the vacuum sealing process is complete, the bag is tightly sealed, and the pickles are infused!
Let the pickles sit in the refrigerator for a few hours or overnight to enhance the flavor.
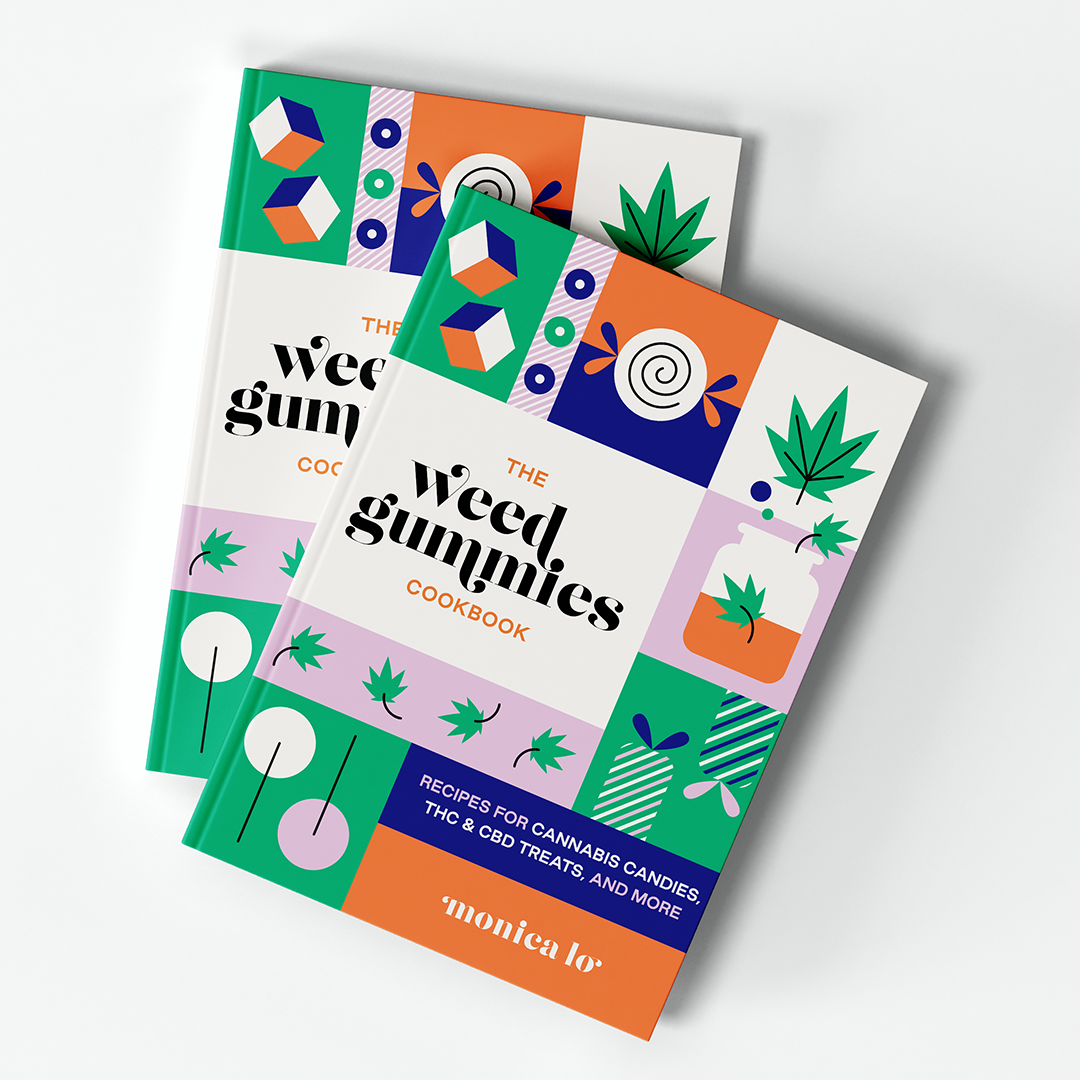
*Cannabis-Infused Sugar
Recipe excerpt from The Weed Gummies Cookbook by Monica Lo, published by Ulysses Press
Active Time: 5 minutes
Inactive Time: 24 hours
Ingredients:
• 1 cup granulated sugar
• 1/4 cup cannabis-infused tincture (recipe below)
Directions:
Spread out the sugar on a baking sheet lined with parchment paper. Pour the cannabis tincture over the sugar and mix it around. Leave the tray out in the open for the alcohol to evaporate. Stir every few hours and make tracks in the sugar to assist with airflow.
After 24 hours, the cannabis-infused sugar should look light gold in color. If the dried sugar is clumped together, gently break the larger clumps with the back of a wooden spoon.
Store the cannabis-infused sugar in an air-tight container.
Cannabis-Infused Tincture (Alcohol)
Recipe excerpt from The Weed Gummies Cookbook by Monica Lo, published by Ulysses Press
Active Time: 5 minutes
Inactive Time: 24 hours
Ingredients:
• 1/4 oz (7g) cannabis flower, decarboxylated
• 2 cups high-proof alcohol, like Everclear or a strong grain alcohol
Directions:
Place the decarboxylated cannabis flower inside an empty mason jar and pour the grain alcohol over the top, covering the flower completely. Close the mason jar securely.
Store the jar in a cool, dark place such as a cupboard or closet, giving it a good shake every few hours to agitate the alcohol infusion. It will be ready to use within 24 hours.**
Prepare a cheesecloth a set it over a fine-mesh strainer. Pour the cannabis-infused tincture through the cheesecloth and into a measuring cup with a spout. Discard the solids. Transfer the finished tincture to clean jars or bottles. Store in a cool, dark place.
** Ardent’s lab testing shows that with a 3- hour Everclear soak, there is already significant cannabinoid extraction of over 80 percent. If you can wait longer, the additional overnight soak will give full potency.

